How to make a photo booth template
To make a photo booth template, set up a canvas at your print size and 300 DPI, mark where the photos go, design around those areas, cut them out so they are transparent, and export a PNG. Then load it as the overlay in your booth software and run a test print.
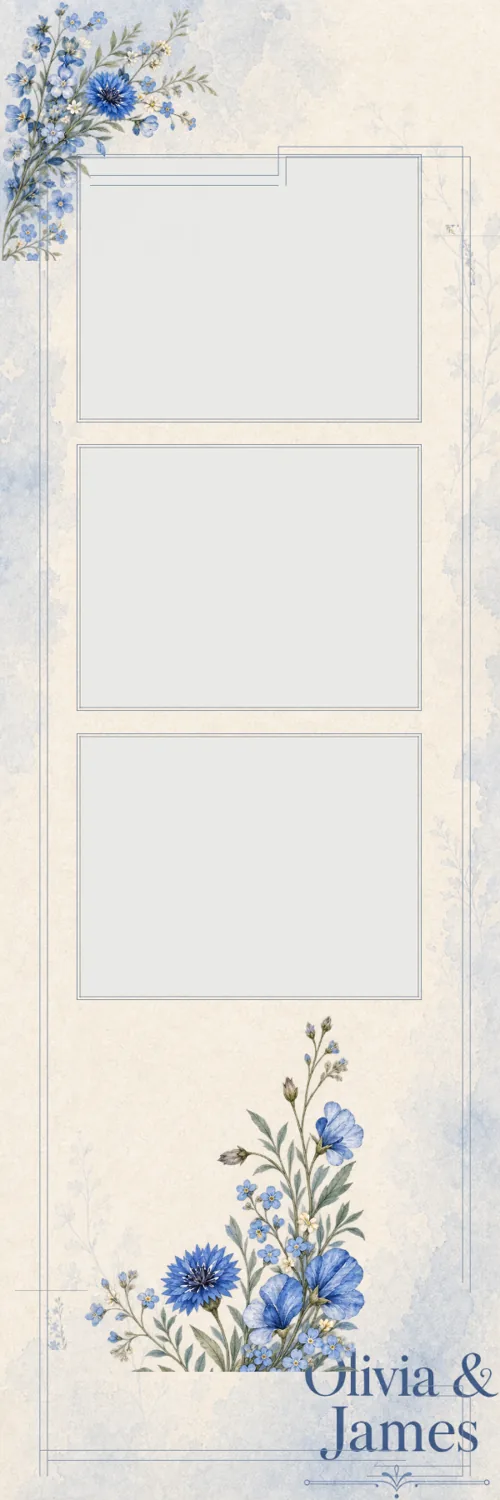
Canvas sizes at 300 DPI
Last updated
| 2×6 strip | 600 × 1800 px |
|---|---|
| 4×6 portrait | 1200 × 1800 px |
| 6×4 landscape | 1800 × 1200 px |
| 5×7 | 1500 × 2100 px |
| 6×6 | 1800 × 1800 px |
| 9:16 share overlay | 1080 × 1920 px |
| HD screen | 1920 × 1080 px |
| iPad screen | 2048 × 1536 px |
1. Pick the print size your printer runs
Start from the paper. Most booth printers run 4×6 sheets, printed whole or cut into two 2×6 strips. Multiply inches by 300 to get pixels: a 2×6 strip is 600 × 1800 and a 4×6 is 1200 × 1800. Working at 300 DPI from the start avoids a soft print later.
2. Mark the photo openings first
Decide how many photos the print holds and where they sit before you draw anything. Your booth software places the photos, so the openings in your design have to match the positions and proportions it uses. Check its template settings, or start from one of its layouts and note the photo boxes.
3. Design around the openings
Put the names, the date and the artwork in the space the photos leave. Keep important wording a little in from the edge, because printers trim unevenly. If there is a logo, leave it a clear area of its own.
4. Make the openings transparent and export a PNG
The template is an overlay that sits on top of the photos, so the photo areas must be see-through. Delete or mask them, then export as PNG with transparency. A JPG will not work, because it has no transparency.
5. Load it and print a test
Add the PNG as the overlay in your booth software, take a test session and print it. Check that faces are not covered, that nothing important is trimmed, and that the colours print the way they look on screen.
Or have it made for you
BoothLab does these steps from a brief. You give it the event’s names, date, colours and a style, pick a layout, and get the prints at the sizes above with the openings already transparent, plus a matching start screen and buttons. The first look is free.
Sources
Facts about other products were checked on 13 October 2026 and can change. Check the links for current details.
Questions operators ask
What resolution should a photo booth template be?
300 DPI at the print’s trim size. For a 4×6 that is 1200 × 1800 pixels, and for a 2×6 strip it is 600 × 1800.
What file type does a photo booth template need to be?
A PNG with transparent photo openings. The template sits over the photos, so the areas where photos show must be see-through.
Can I make a photo booth template in Canva?
Yes, by setting a custom canvas size in pixels and designing around the photo areas. Downloading with a transparent background needs a paid Canva plan.
How do I know where the photo openings go?
Your booth software decides where photos are placed, so match its layout. Check the template or layout settings in your software for the photo positions.